Prerequisites
- You must have created and activated your account.
- You must have a current subscription.
- You need access to at least one layer with at least one area or location created in it.
- You need editing permissions.
Required time: Up to 10 minutes.
In this lesson, we will learn how to edit the details of an area or location. Here, we’ll refer to areas and locations collectively as records.
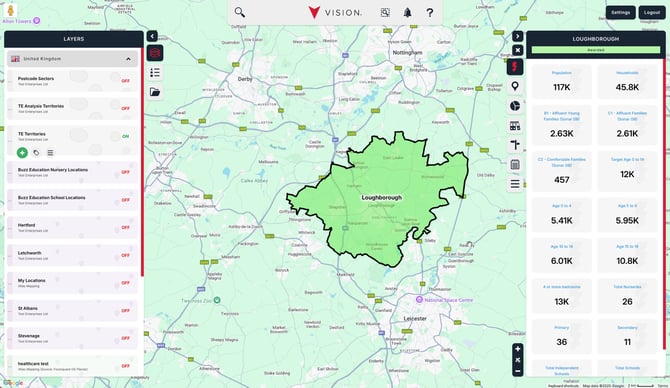
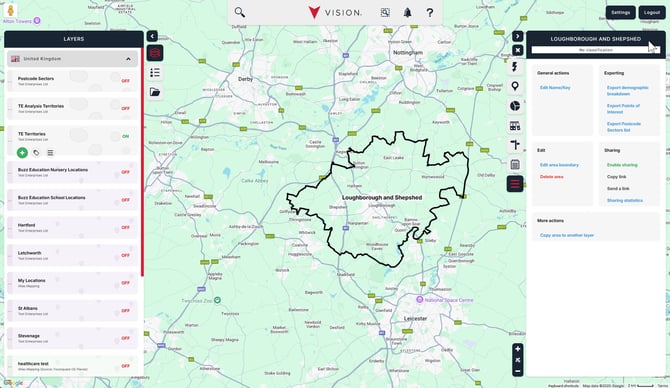
For all sections, start by ensuring that one of your layers is turned on and then navigate to the record you want to edit. We’ve chosen to focus on an area, but the process is identical for locations. Your screen should look like this.
Editing the record's data
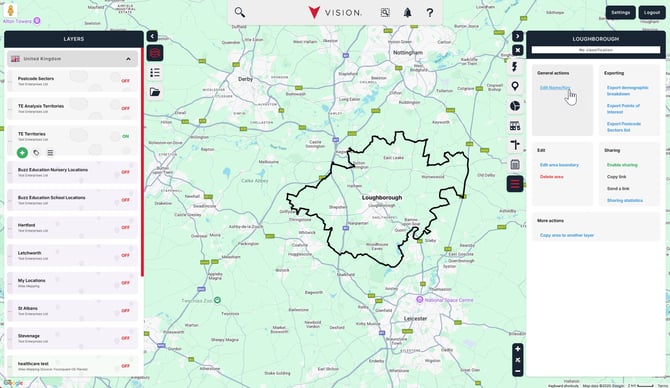
Click on the record to open the information window, and select the Actions tab, which is found at the bottom of the list of tabs. Then, click on Edit Name/Key in the General actions section.
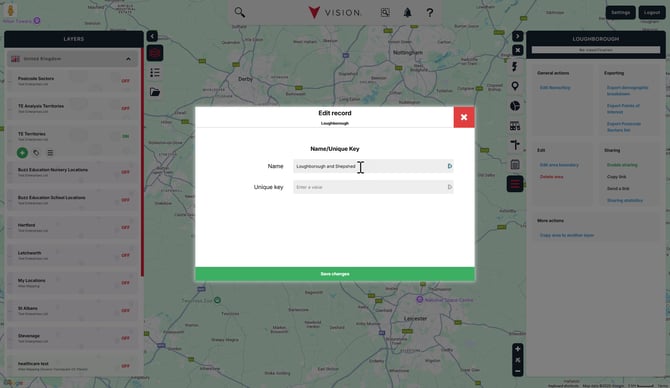
Change the name for your record (you can always undo this later by repeating the same steps).
When you're done, click Save changes.
Any changes you’ve made will be saved, and you’ll be returned to the information window. That's it! Editing data is as simple as that!
Editing the record's classification
Additional prerequisites
- You will need to have created classifications and attached them to the record’s layer. See here for instructions on how to do this.
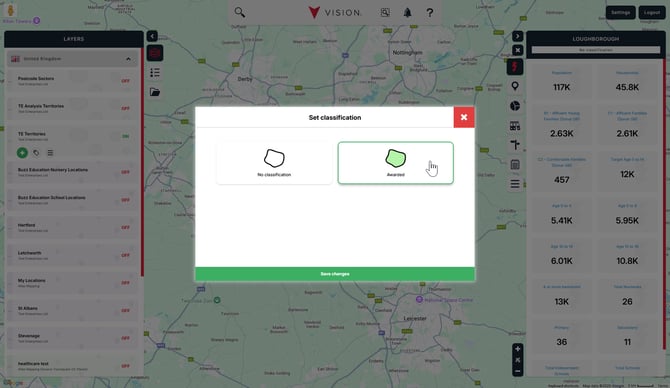
Click on the area to open the information window. Click on the classification section at the top of the information window.

A dialogue box will appear in the centre of the screen with all available classifications. Select the appropriate classification and then Save changes.
The map will now reflect the new classification.