This article describes how to export your data from Vision as a downloadable .csv file.
Prerequisites
- You need to be logged into Vision.
- You need to have exporting permissions.
- If you want to filter the data, you need to be subscribed to Small Teams or higher.
Estimated time: Up to 5 minutes.
Getting started
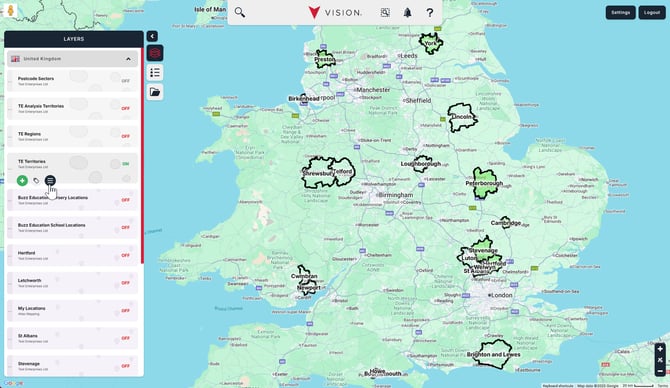
Start by turning on the layer you wish to export. Then, click the Actions button.
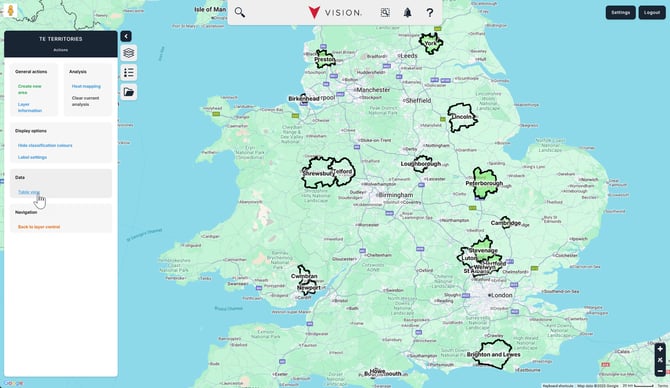
Click Table view in the Data section.
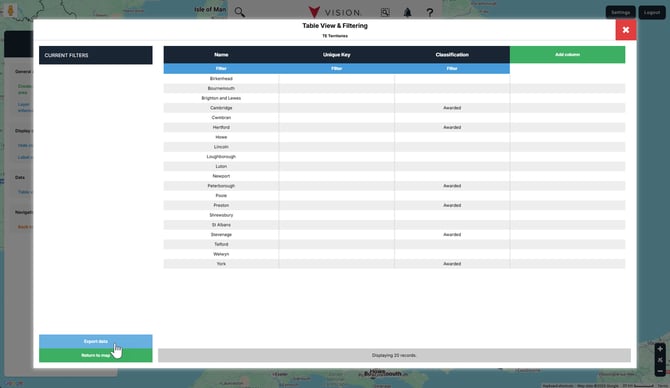
Now, click Export data in the bottom-left.
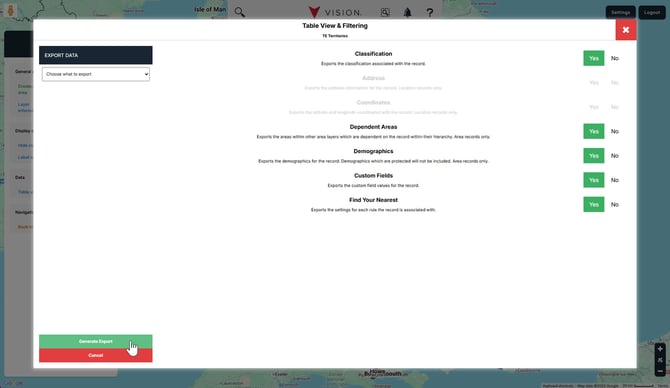
Next, select Choose what to export in the dropdown menu on the left-hand side, and toggle all Export options on the right-hand side to Yes. Finally, click Generate Export.
That's it! You've just exported all your data for that layer.
Specifying which columns to export
You first need to follow the instructions in the Getting started section.
You can specify which columns you wish to include in your export by adding them to your table. On the right-hand side of your table, click Add column.

Select the columns that you wish to add to your table by clicking them. When you're done, click I'm finished! in the bottom-left.

Filtering which records to export
You can apply one filter to each column displayed in your table.
In your table, click the blue Filter button directly under the appropriate column header, and then set your filter options on the left-hand side. When you're done, click Apply filter in the bottom-left.

Repeat this for each column you wish to filter on.
Exporting the data
In our example, we've added three columns and applied a filter on one column.
Click Export data in the bottom-left.

Ensure you select Export my table in the top-left dropdown and click Generate Export to download your file.

That's it! You've just exported a selection of your data from Vision.