
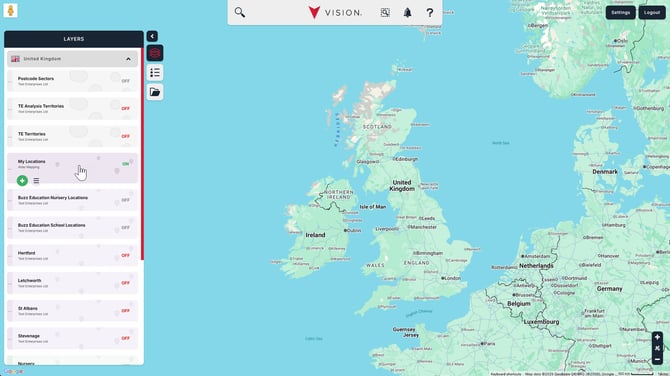
Let’s learn how to add a new location in Vision. Start by ensuring your location layer is turned on. Your screen should look like this.
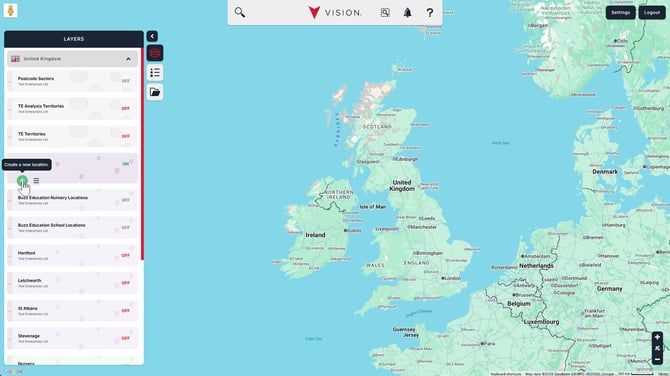
Click the green plus button to create a new location.
This will open the search feature to help you quickly position the new location.
In the top of the search window, leave the search type as My data and enter an address to retrieve a list of potential results (we’ve used our office Postcode).
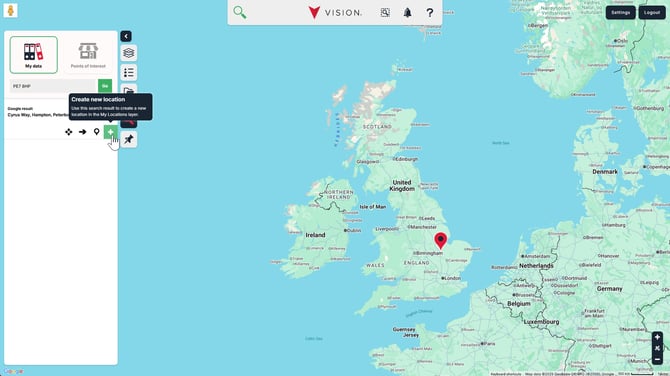
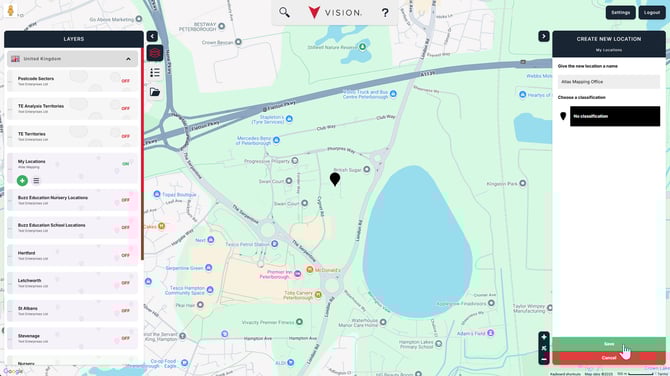
Click the green Create new location button under the appropriate search result to position your new location there. Your screen will now appear as follows.
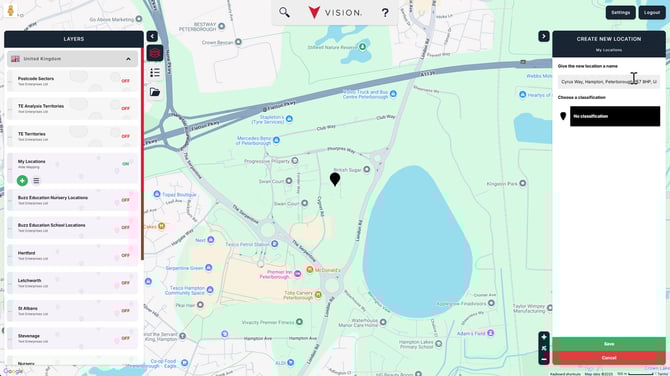
We’ve auto-populated the name for the location as the address for the search result. Change this to something more meaningful if you like, and if you’ve set any up, optionally select a classification to assign to your new location.
If the location needs fine-tuning, not to worry. Simply click on the marker and drag it to a new position.
When you’re happy, click Save in the bottom-right.
Well done! You’ve created your first location in Vision.
If you have a lot of locations to create in your system, our helpful customer service team will be able to mass import them for you. Please contact your Customer Success Manager, or the support centre for help on this.