This article will guide you through the process of adding a new user to your organisation.
You will need to be an Organisation Administrator to be able to do this.
Required time: 5 minutes.
Getting Started
From the Vision Home page
Click the Settings in the top right of your page.

- Select the Organisations tab on the left-hand side.
- Click the blue Manage button next to your Organisation name.

- Select List under Users from the navigation menu, and then
- Click Add new user(s) to the right-hand side of the Users section.
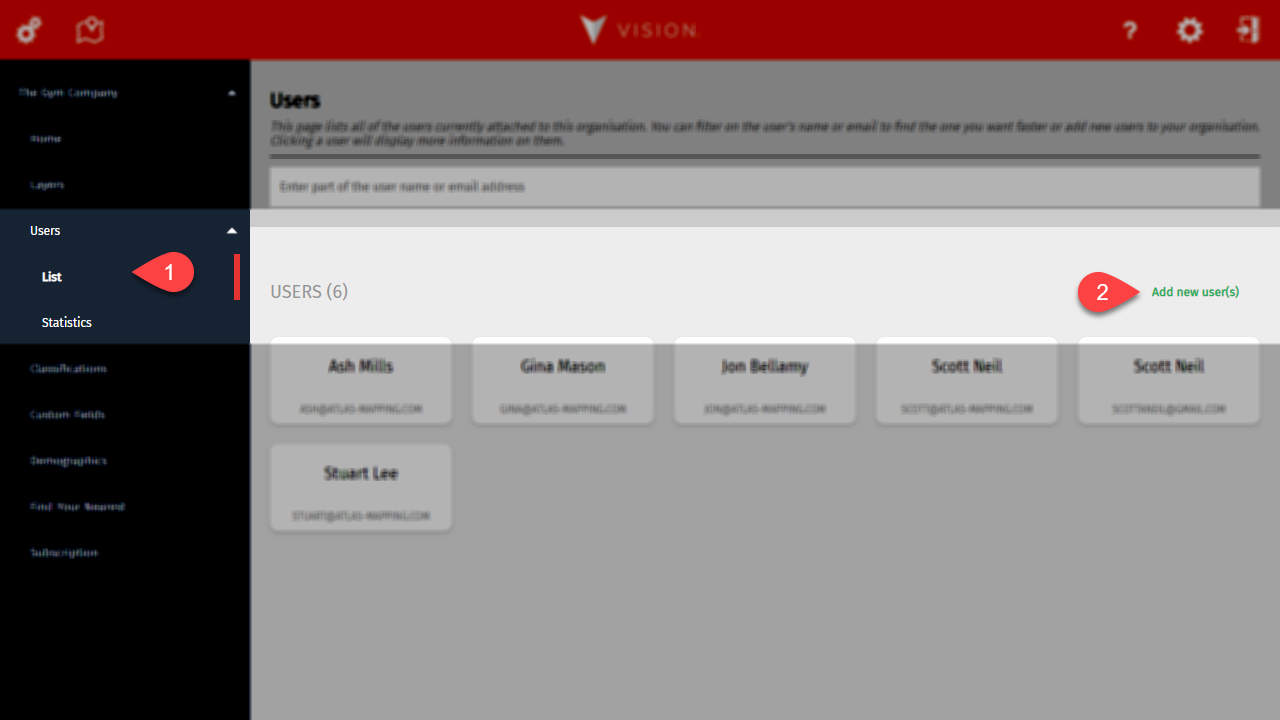
If the Add new user(s) button is disabled, you'll need to upgrade your subscription to get more licenses.
Step 1 - User type
You'll need to choose what type of user you want to add. If either option is disabled, it means that your subscription has no more available licences of that type.

If the option you want is disabled, either remove an existing user or contact us to upgrade your subscription.
Click Continue to move on.
Step 2 - Users
Enter the email address of the person you want to add to your organisation. If you have more than one remaining license, click Add another you can add as many people as your remaining number of licenses. Just remember, when adding multiple users in one go, they will all have the same permissions and access to the same layers that you set in steps 3 and 4.
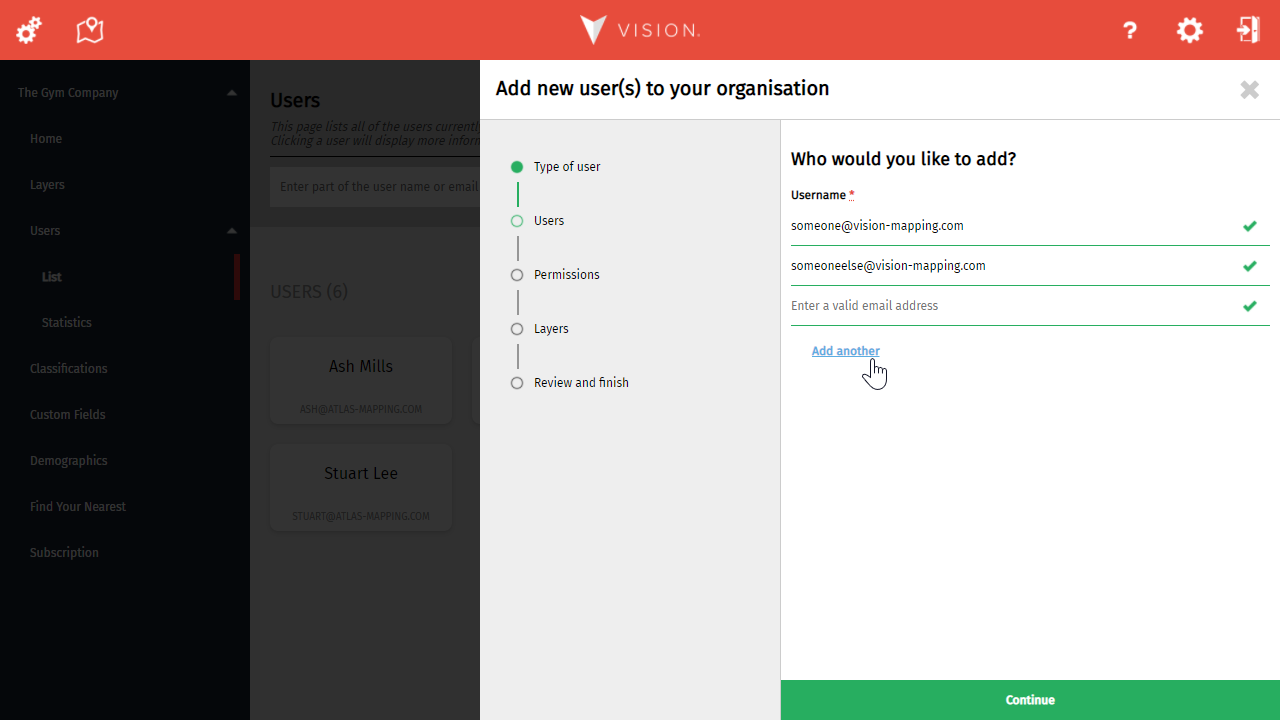
Adding multiple users at once is really easy, but if you accidentally add too many, don't worry. Just leave the extras blank!
Click Continue to move on.
Step 3 - Set User Permissions
Permissions are only available when adding internal users.
Select the permissions you want to give the user(s). Just remember, if you're adding multiple users they will all have these permissions.
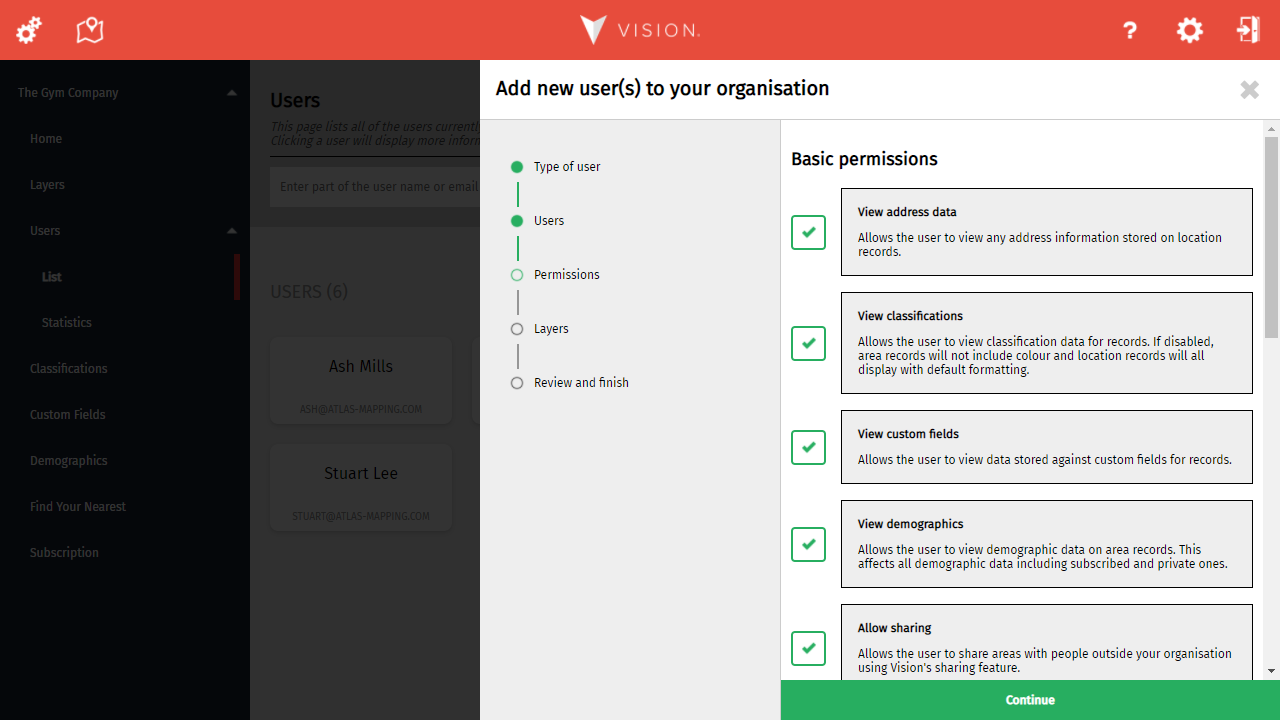
Permissions control what data users can see and edit. Certain permissions can also be overridden for individual layers.
Click Continue to move on.
Step 4 - Choose which Layers the user(s) can use
Choose which layers you want the user(s) to have access to.
Your layers are grouped by country (click on the country headers to expand the layer list). When you select a layer, you'll have access to optional and more advanced functions that override the user(s) permissions on that layer (these cannot be changed for layers included within your subscription).
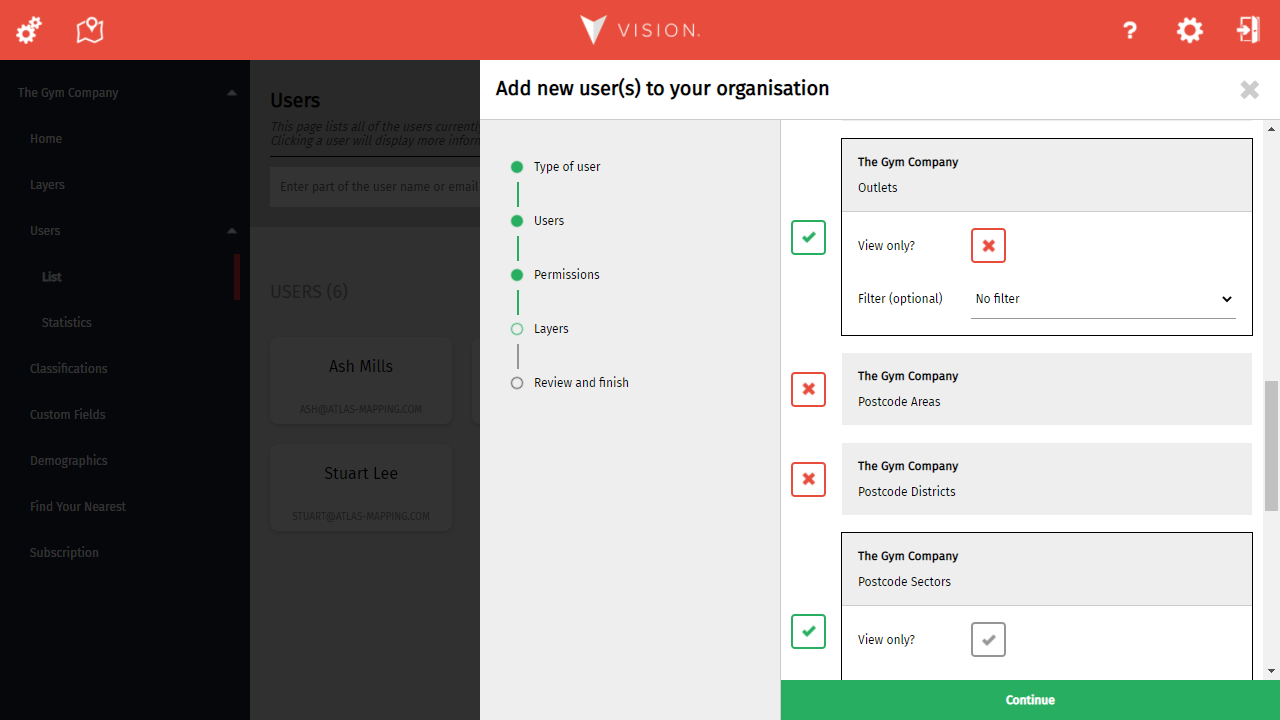
Some layers (like those included as part of your subscription) will always be forced to View only, regardless of a user's permissions.
Click Continue to move on.
Step 5 - Review and finish
The final stage simply confirms your choices through this process. If you've made a mistake, now is the time to go back and correct it.
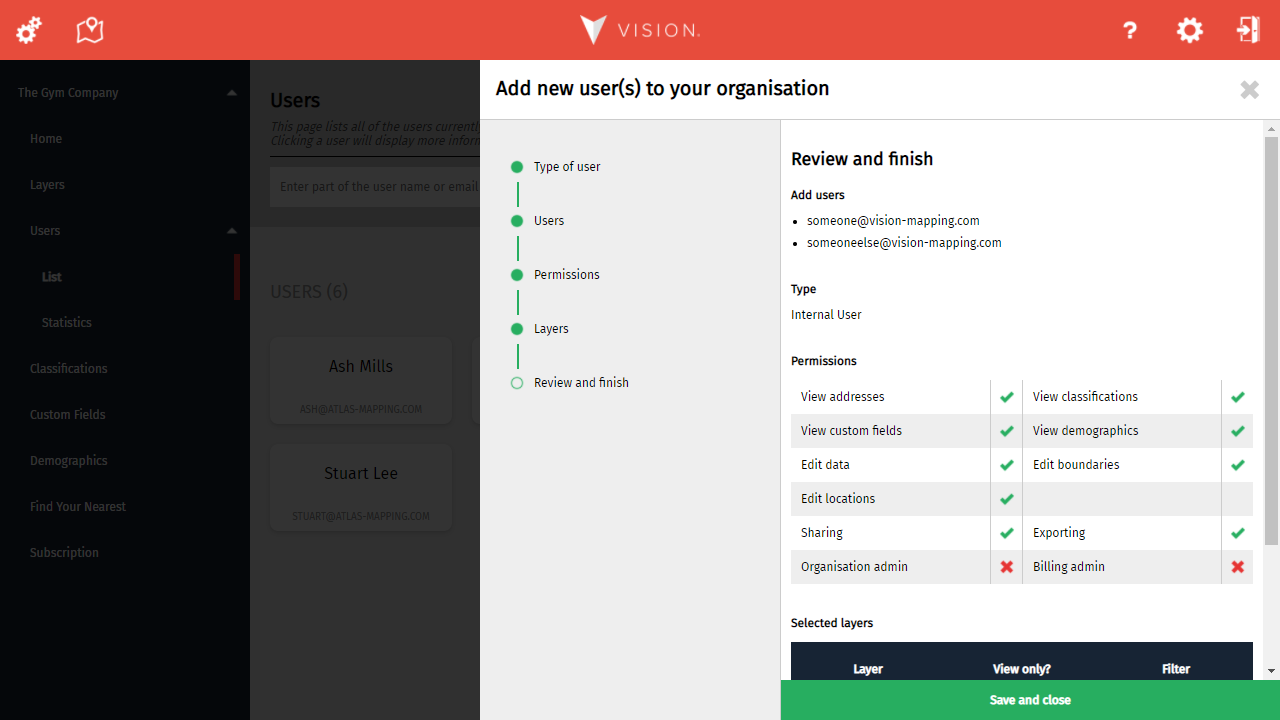
Most processes in Vision end with a confirmation of your changes, allowing you to correct any mistakes before saving.
Click Save and close to complete the process.